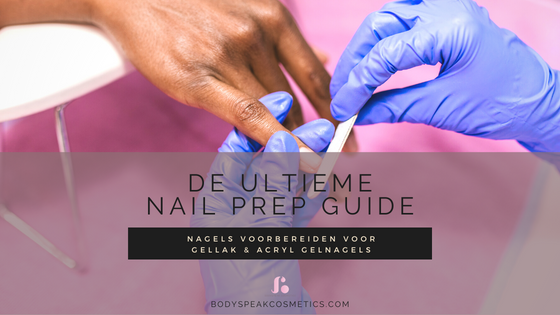
The Ultimate Nail Prep Guide: Preparing Nails for Gel Polish & Gel Nails

The Ultimate Nail Prep Guide: Preparing Nails for Gel Polish & Gel Nails
If you want to enjoy your gel polish or acrylic gel nails for a long time (and keep your nails healthy!), you need to 'prepare' your nails properly. Preparing your nails for gel polish and acrylic nails ensures that the product adheres well, that you can apply it smoothly and it reduces the chance of inflammation. In short, good preparation is definitely half the battle in this case. That is why we will show you step-by-step in this nail prep guide how to prepare your nails if you want to apply gel polish or acrylic yourself!Nail prep guide: the step-by-step plan
Before you start prepping your natural nail, it’s a good idea to have all your supplies ready. There’s nothing more annoying than having to look for your hoof stick or rummaging around in a cupboard hoping to find some remover. This is what you’ll need for your nail prep:
● remover
● kitchen roll or non-woven tissues
● nail clippers
● goat leg
● cuticle clippers (optional)
● nail file
● nail brush
● base coat / primer (optional)
● brush
● UV/LED nail lamp
Ready? Great. Then we can begin.
Step 1 - Remove old nail polish
Gel polish and acrylic gel are applied to clean nails. So you first have to remove old layers of nail polish/gel polish. You can simply use a nail polish remover with acetone , a nail polish remover without acetone or a gel polish remover . Soak a cotton pad or ball in your favorite remover and hold it on your nails while you rub gently. Your old nail polish will then quickly disappear.
Tip: Do you still have acrylic gel or gel polish on your nails? Read here how to remove it safely and quickly!
Step 2 - Cutting nails
Now that your nails are free of nail polish, it is best to cut them right away. This is more difficult if there is gel polish or acrylic gel on them. So cut your nails to the desired length with nail clippers or scissors and ensure a nice curve. Bonus: cutting straight and rounding off the corners reduces the chance of ingrown nails and ensures the strongest nails!Step 3 - Push back cuticles
One of the most important parts of a good nail prep is pushing back your cuticles and removing loose skin. This makes your nail look more cared for and allows you to apply the gel or polish better to the entire nail plate without it coming loose or 'lifting' at your cuticle.
To push back and clean your cuticles, use the flat side of a cuticle stick to push back your cuticle slightly. Then, run the pointed end along and under the edge you just pushed back. Scrape away any dead skin cells on the nail plate. Use a cuticle clipper to remove any loose skin. You’re done when you can’t see any more loose skin!
Step 4 - File nails
The next part of this nail prep guide: filing. File the edges of your freshly cut nails to a nice shape and use a nail file or nail drill bit to file the surface of your nail until it is a bit rough and you can no longer see the gloss layer. This ensures that your gel polish or acrylic gel will adhere better later. While you are at it, try to file away any ridges, cracks and other irregularities.Step 5 - Clean and degrease nails
Clean nails are key, remember? So remove the dust from filing with a cloth or brush and clean the nail and make it grease-free. You can do this with a little alcohol or -even better- a nail cleaner . Let your nails air dry and move on to the next step of this nail prep: applying a primer (optional) and base coat.Step 6 - Apply base coat
With the base coat you create a base layer that adheres well to your nail and to which the gel polish and/or acrylic gel can also adhere well. It strengthens, protects your natural nail from discolouring and ensures a beautiful, even nail. Very important!
With a brush, apply the base coat over your entire nail. In a thin layer. Make sure it doesn't touch your skin or cuticles. To be on the safe side, keep about 1mm distance between your coating and the edges. At the free nail edge at the tip of your nail, you can of course apply the base coat all the way to the edge - and you should definitely do that!
Then cure the base coat for 60 seconds under an LED lamp or 90 seconds under a UV lamp and your nail prep is done!
Applying gel polish or acrylic gel
So. If you have gone through all the steps of this nail prep guide, your nails are ready for applying a tight and firm layer of gel polish or applying acrylic gel nails. How to do that, you can read in the following blogs:
● Apply Gel Polish / Gel Lacquer in 5 steps
● How to - 5 step plan for applying Acrylic Gel nails


